
Your public profile is the page visitors open when they select your name on a listing or find you through Find an agent. Have a square head-and-shoulders photo ready if you want one on the page.
Before you start
Open Public Information
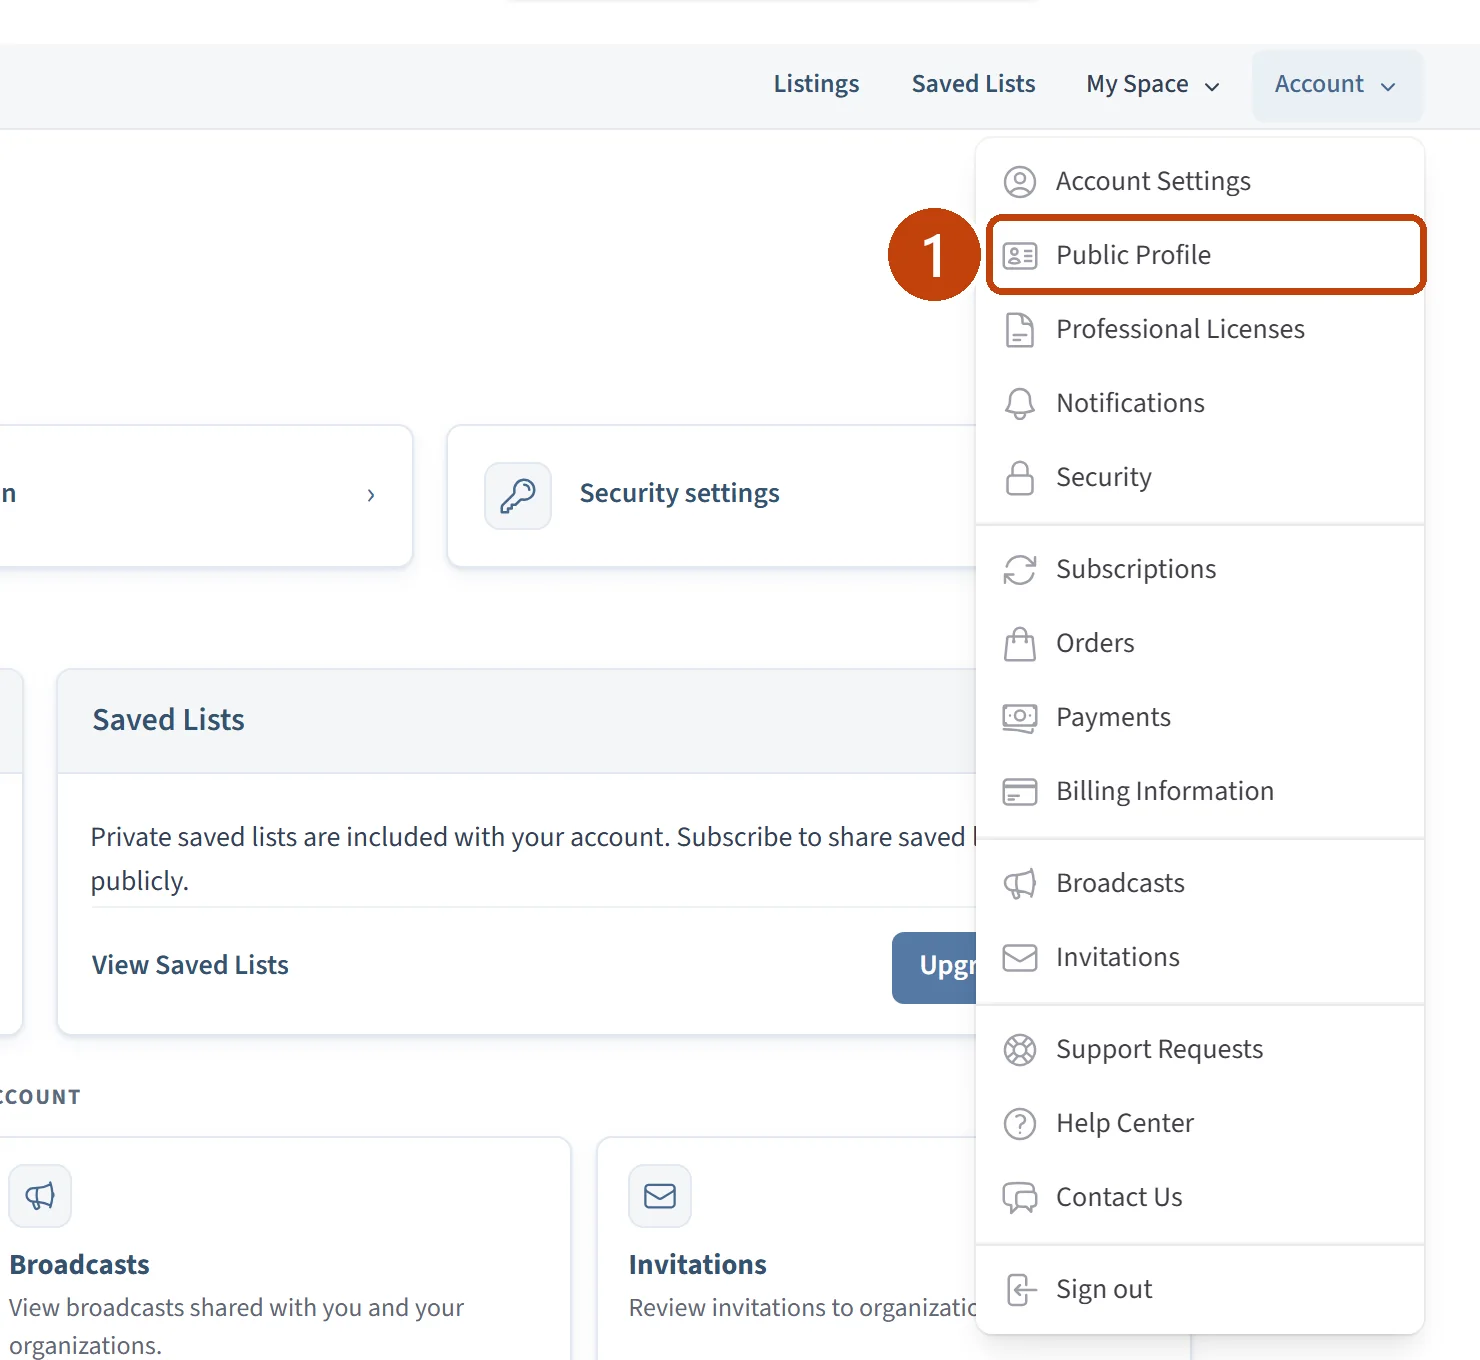
Select Account at the top of your Dashboard.
Select Public Profile.
Before a profile exists
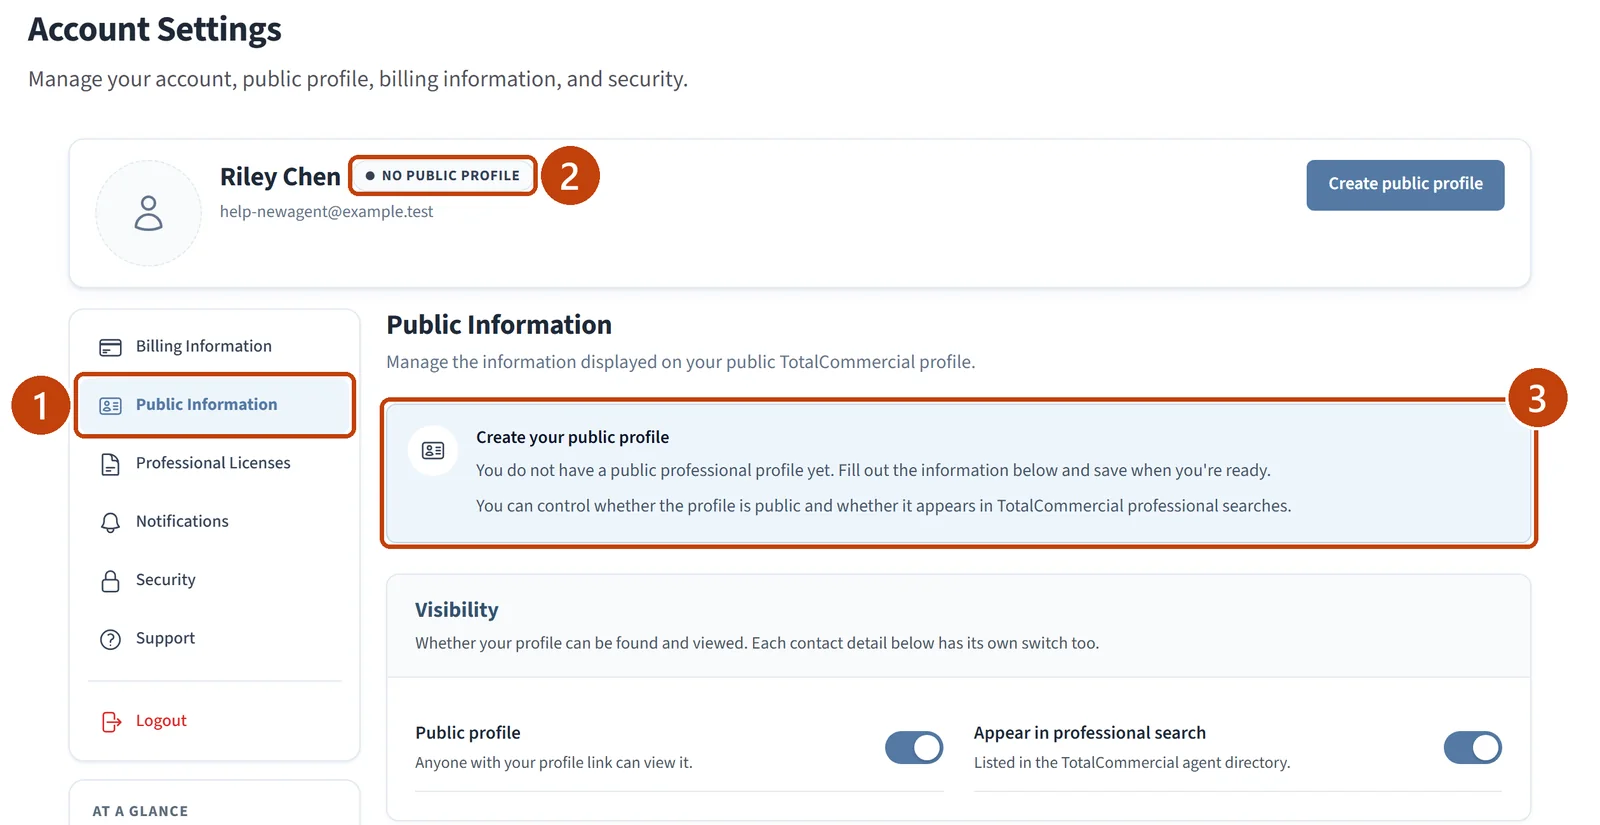
Account Settings opens on Public Information. Until you save a profile, the badge beside your name reads No public profile.
Set visibility and enter your details
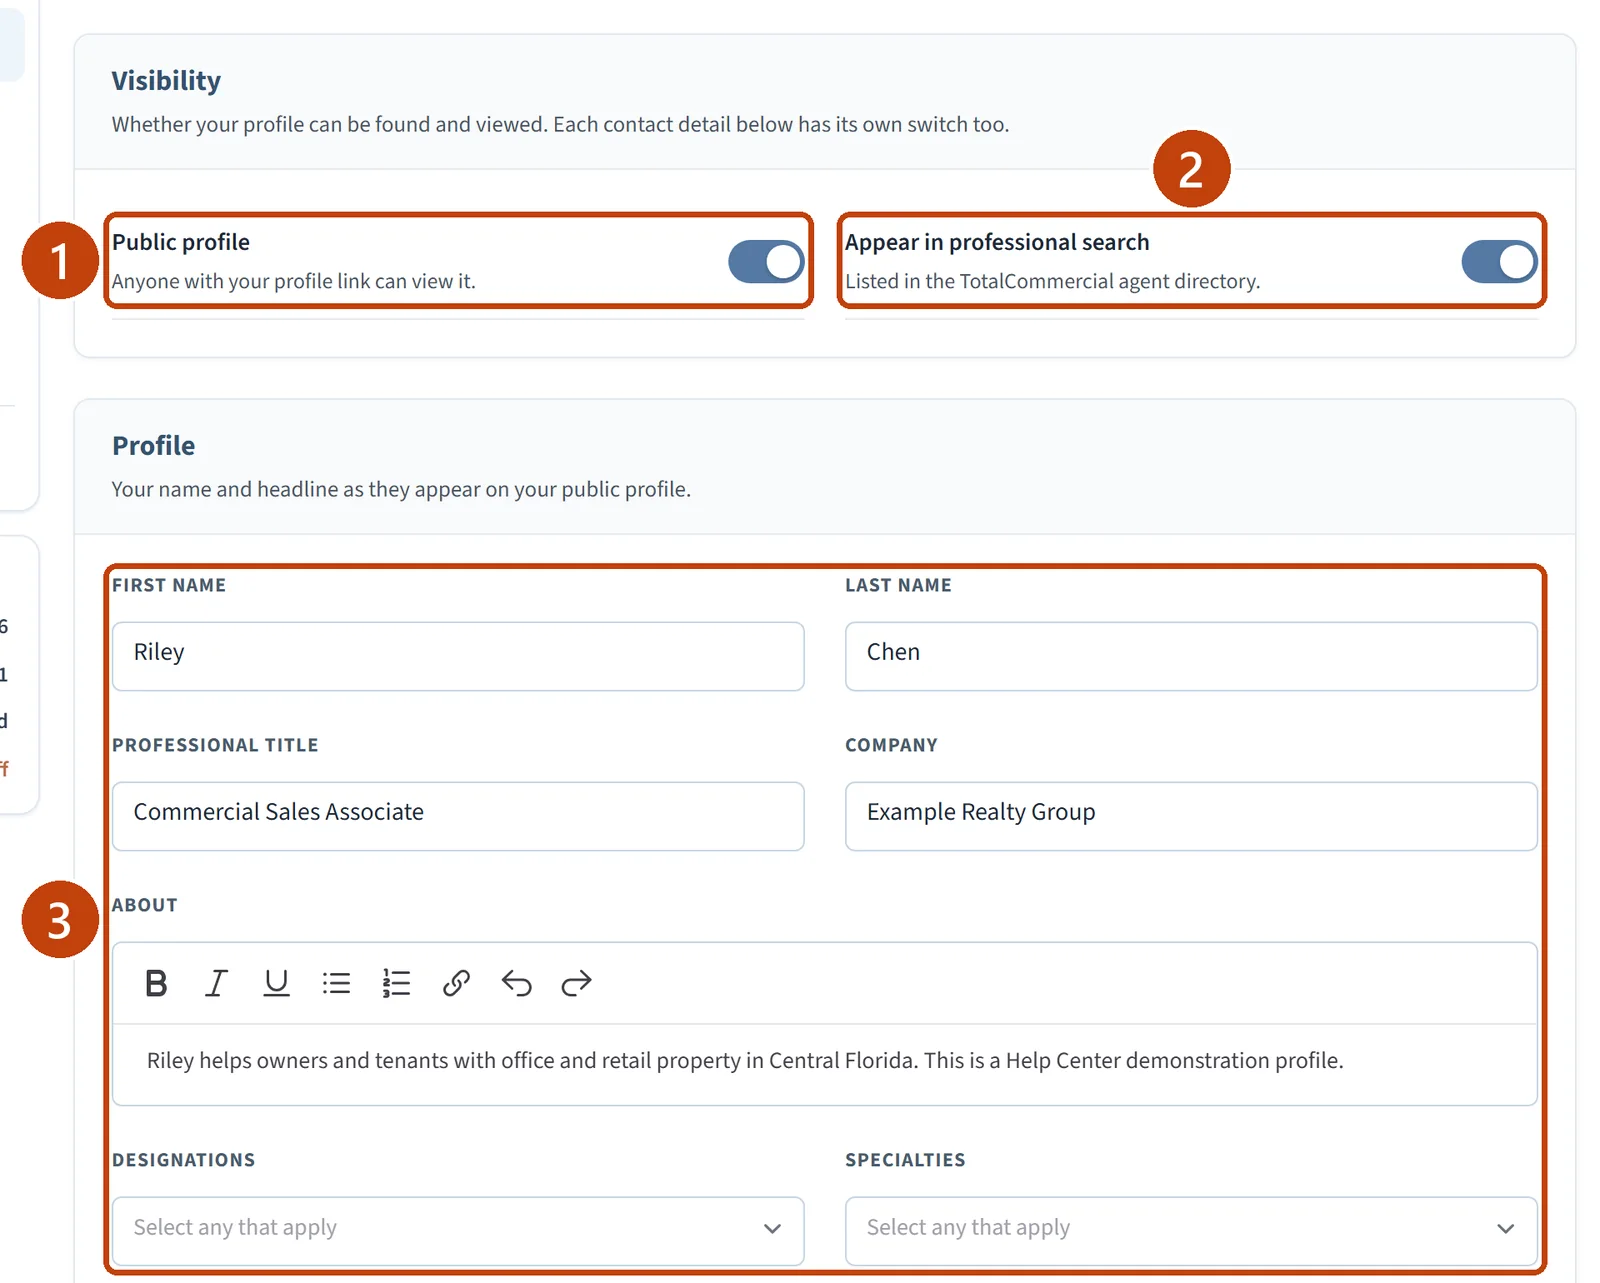
Two switches under Visibility control the whole profile. Both start switched on.
Public profile: anyone with your profile link can view it.
Appear in professional search: you are listed in the TotalCommercial agent directory.
Leave both switches on, or switch off the one you do not want.
Under Profile, enter your First Name, Last Name, Professional Title, and Company.
Write a few sentences in About, and choose any Designations and Specialties that apply.
Add a photo and documents
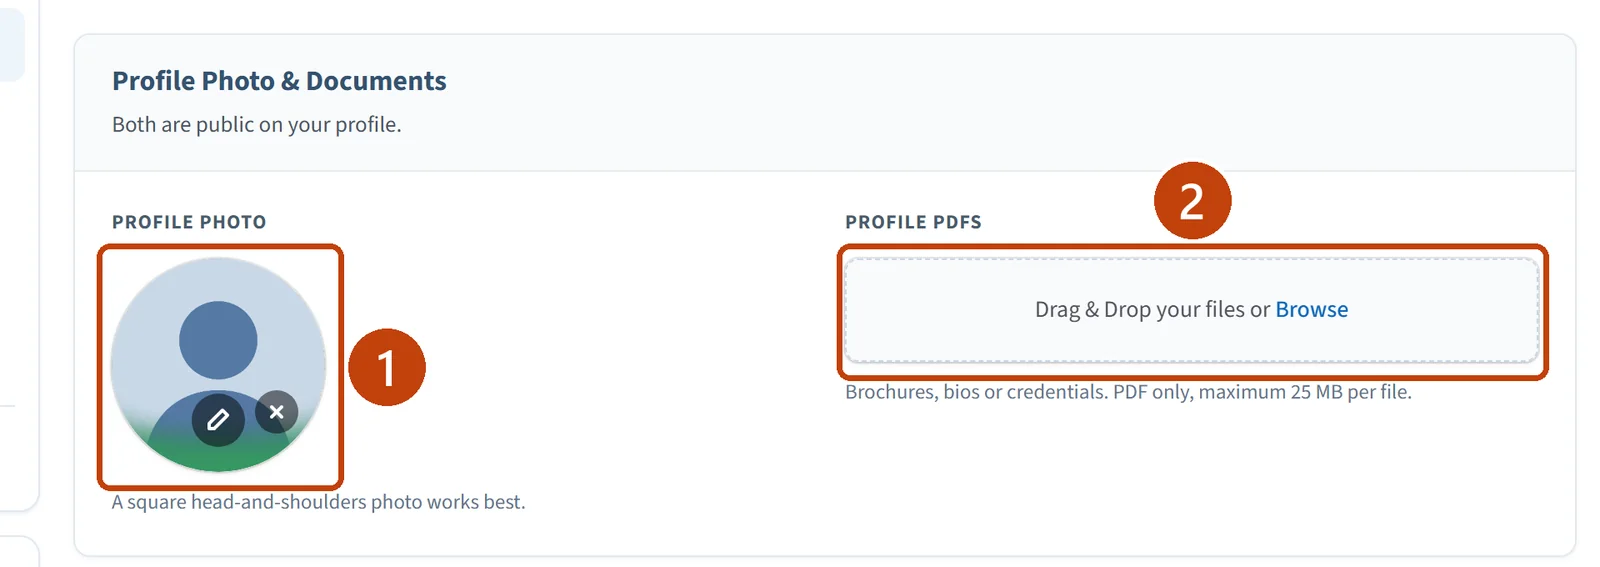
Under Profile Photo, drag in a photo or select Browse. A square head-and-shoulders photo works best.
Optional: add brochures, bios, or credentials under Profile PDFs. PDF only, up to 25 MB per file.
Choose which contact details are public
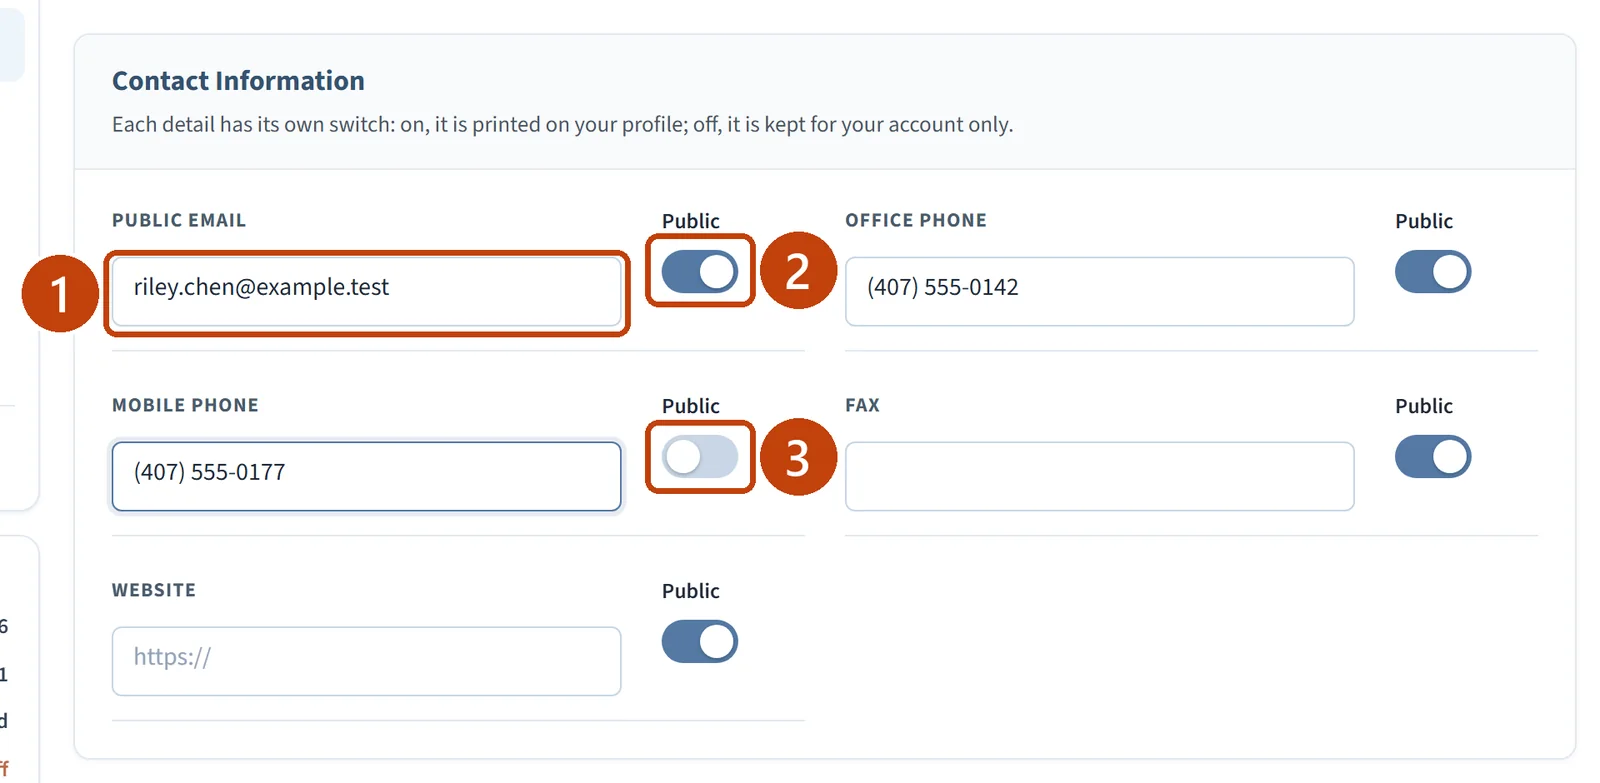
Under Contact Information, every detail has its own Public switch. Switched on, the detail is printed on your profile. Switched off, it is kept for your account only.
Enter your Public Email, Office Phone, and any other details you use.
Switch off Public beside anything you want to keep private.
Create the profile
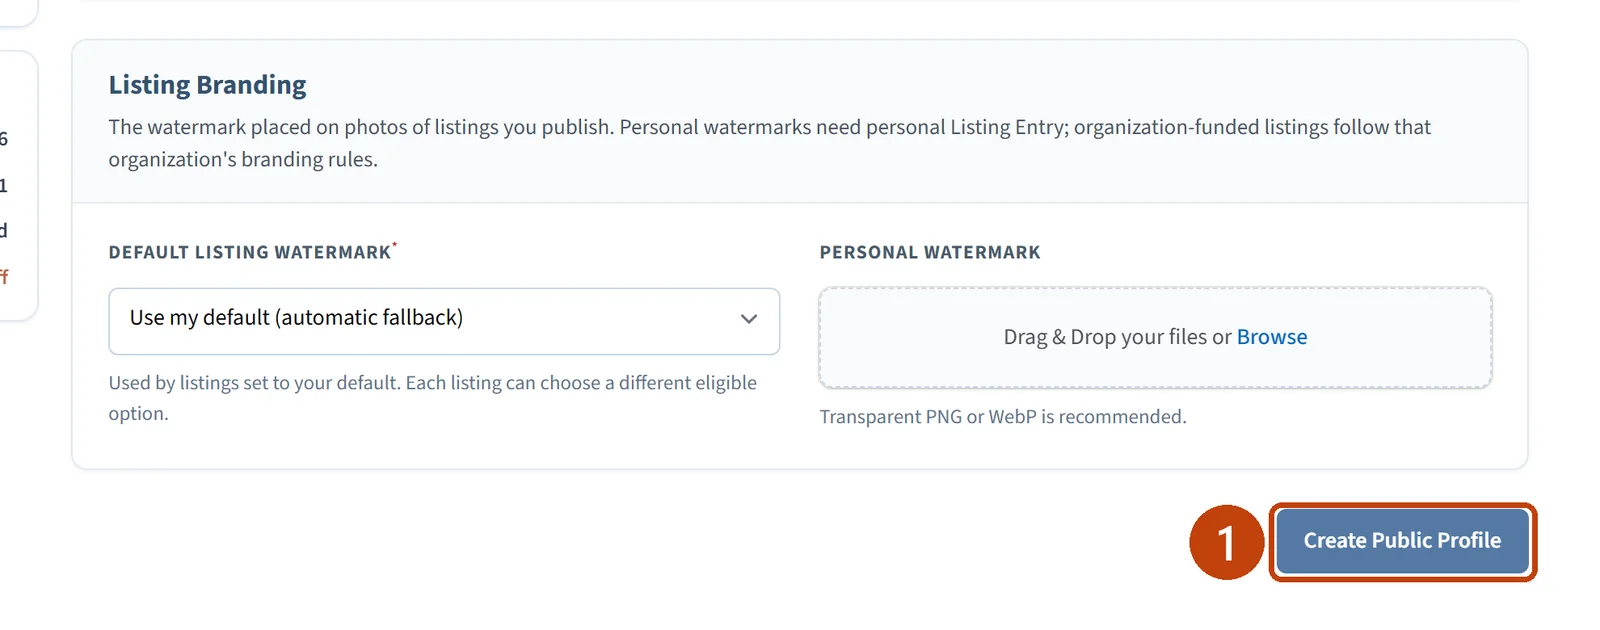
Scroll to the bottom of the page.
Select Create Public Profile.
Confirm the profile is live
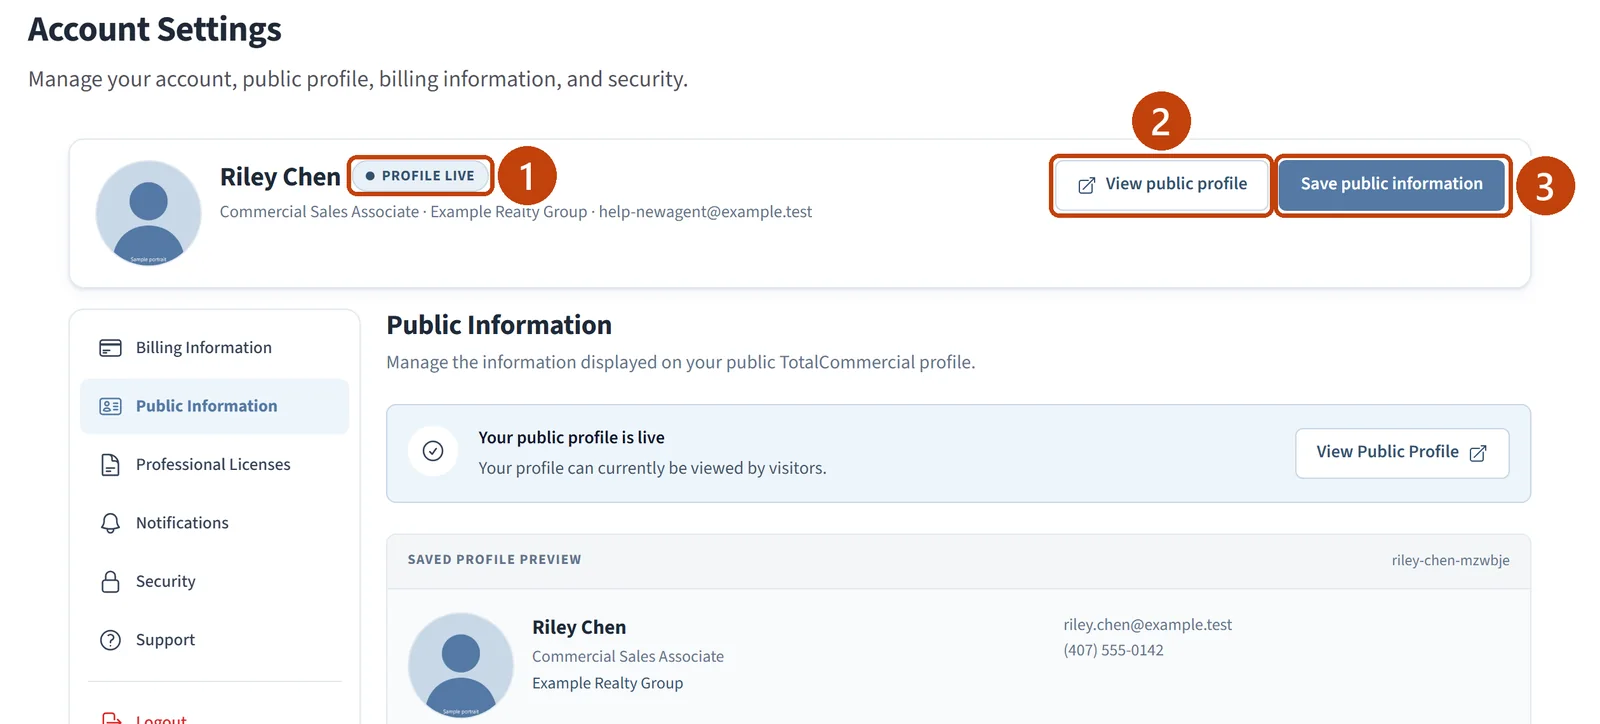
The message “Public profile saved” appears, and the badge beside your name changes to Profile live. To change the profile later, edit this page and select Save public information.
Check what visitors see
Select View public profile.
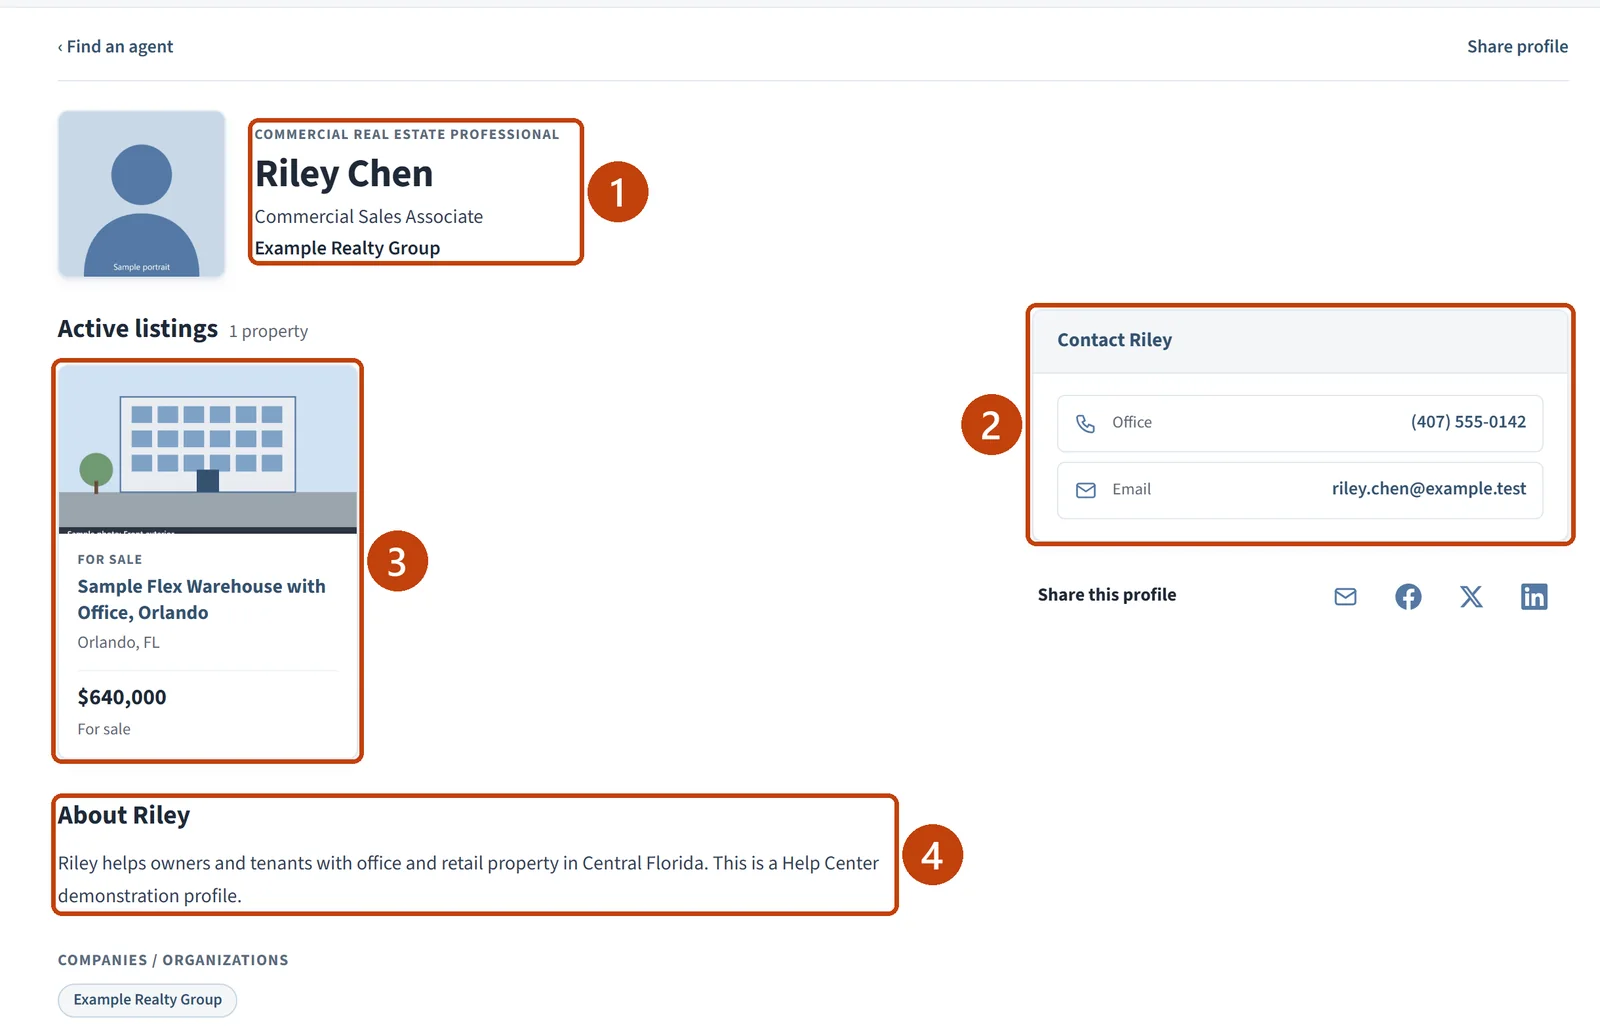
Only the details you made public appear. In this example the mobile phone number is saved to the account, but its Public switch is off, so the page shows the office phone and email only.
Add your professional licenses
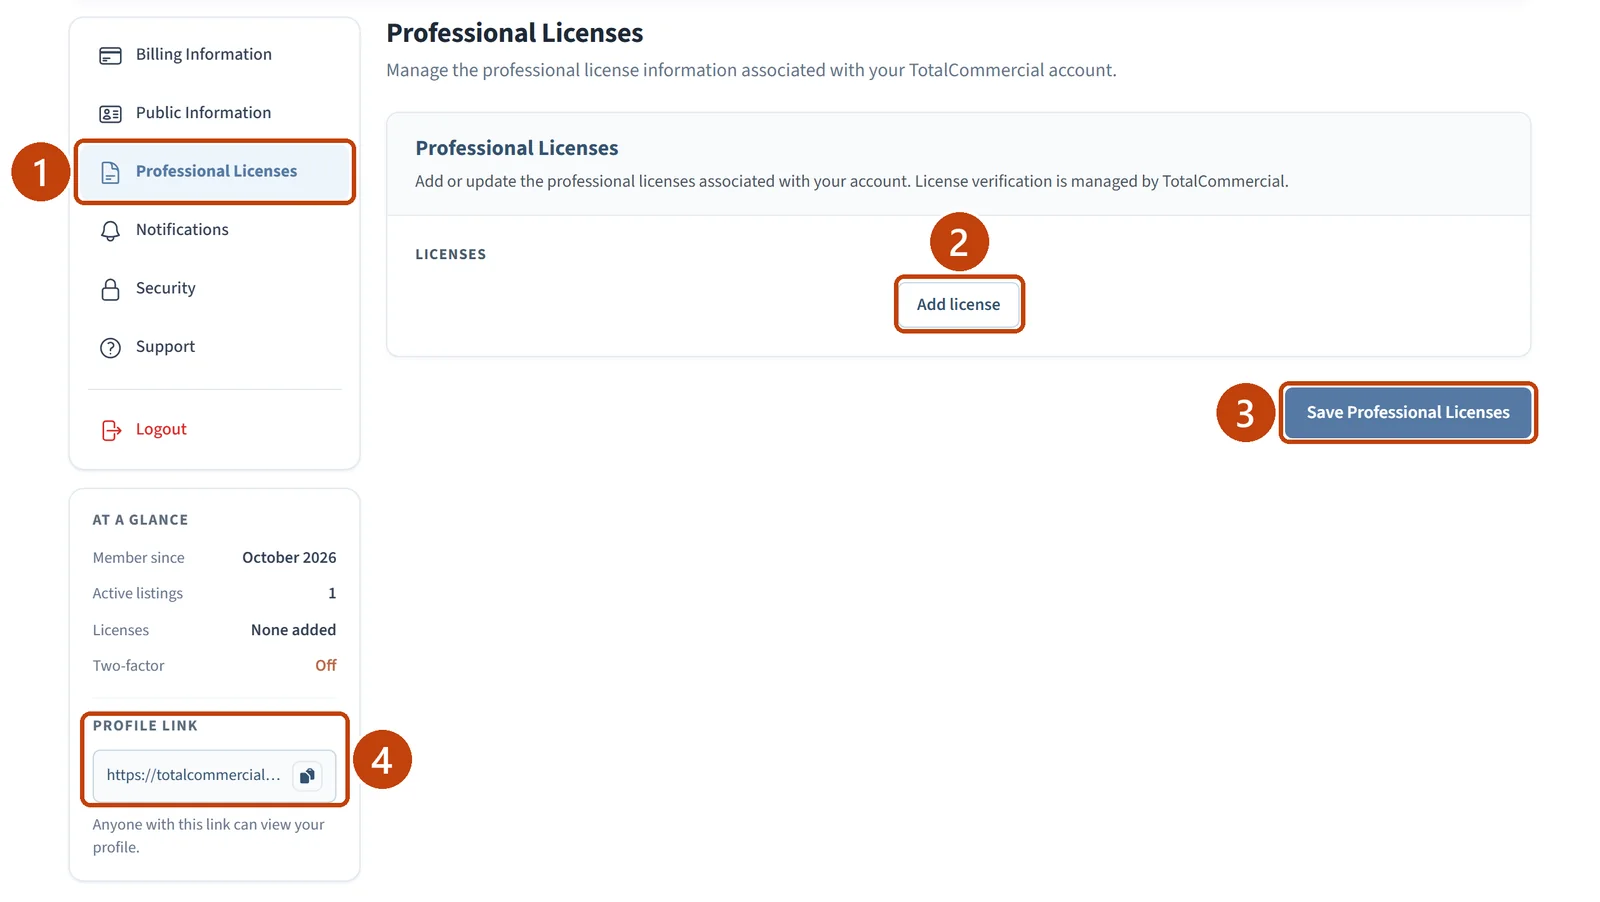
In Account Settings, select Professional Licenses.
Select Add license and enter the License Number, State / Jurisdiction, License Type, and its dates.
Select Save Professional Licenses.
License verification is managed by TotalCommercial. Once your profile is live, the side panel also shows your Profile link with a button to copy it.
If something is not working
You do not appear in Find an agent. Check that both Public profile and Appear in professional search are switched on, then save.
A phone number or email is missing from the public page. Switch on Public beside that detail, then select Save public information.
You want to hide the profile for now. Switch off Public profile and save. Your information is kept.
Social media and business location
Further down, Social Media and Business Location each have one Show on profile switch for the whole group.